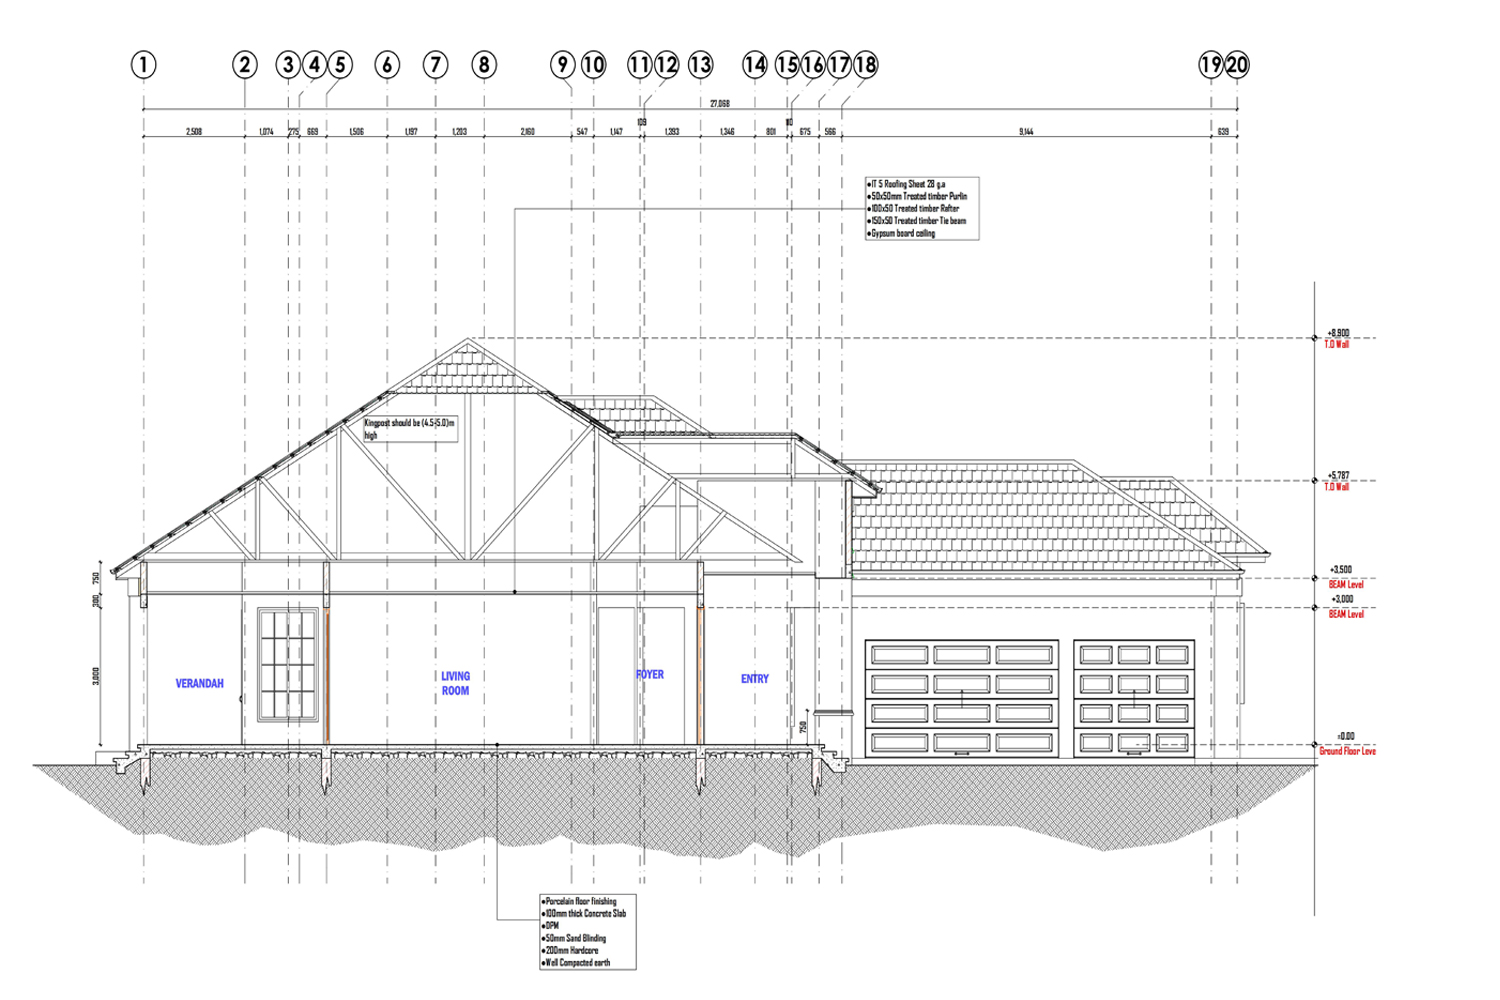
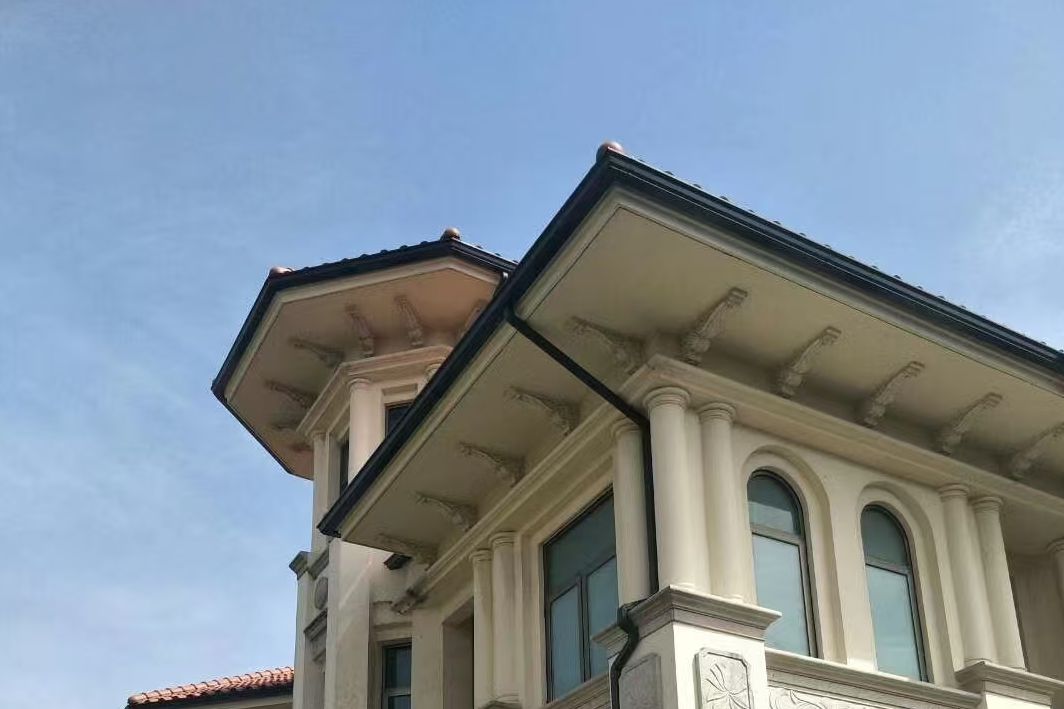
Poorly installed gutters cause leaks, overflow, and structural damage. Incorrect slope or loose brackets worsen drainage problems. Following a proper metal gutter installation process ensures reliable water management.
Metal gutter installation involves measuring the roofline, calculating the correct slope, installing gutter hangers, joining and sealing metal sections, attaching downspouts, and testing water flow. Using proper gutter installation tools and techniques ensures efficient drainage and prevents leaks, making the system durable for both DIY gutter installation and commercial gutter installation projects.
Understanding each step in the gutter installation guide helps ensure long-term performance.
What tools and measurements are needed before installation?
Preparation is the most important stage of any metal gutter installation. Accurate measurements and the correct gutter installation tools ensure that every component fits properly and that the system drains water efficiently. Before starting the installation, it is necessary to measure the roofline length, determine downspout locations, and calculate the correct slope for water flow.
A gutter slope calculator is often used to determine the proper gradient. Typically, gutters require a slope of approximately 1/4 inch for every 10 feet toward the downspout. This slope ensures that rainwater flows smoothly instead of pooling inside the gutter channel. Without proper slope planning, even the most durable gutter materials can fail to function correctly.Essential gutter installation tools include a measuring tape, chalk line, level, drill, metal snips for cutting metal gutters, ladder stabilizers, and safety gloves. These tools allow installers to measure accurately, mark the slope line, and cut gutter sections to the correct length.
Cutting metal gutters should be done carefully to prevent sharp edges or uneven joints. Precision during this stage reduces the risk of leaks later in the installation process. Proper preparation is equally important for both DIY gutter installation and commercial gutter installation projects, ensuring structural alignment and efficient water drainage from the start.

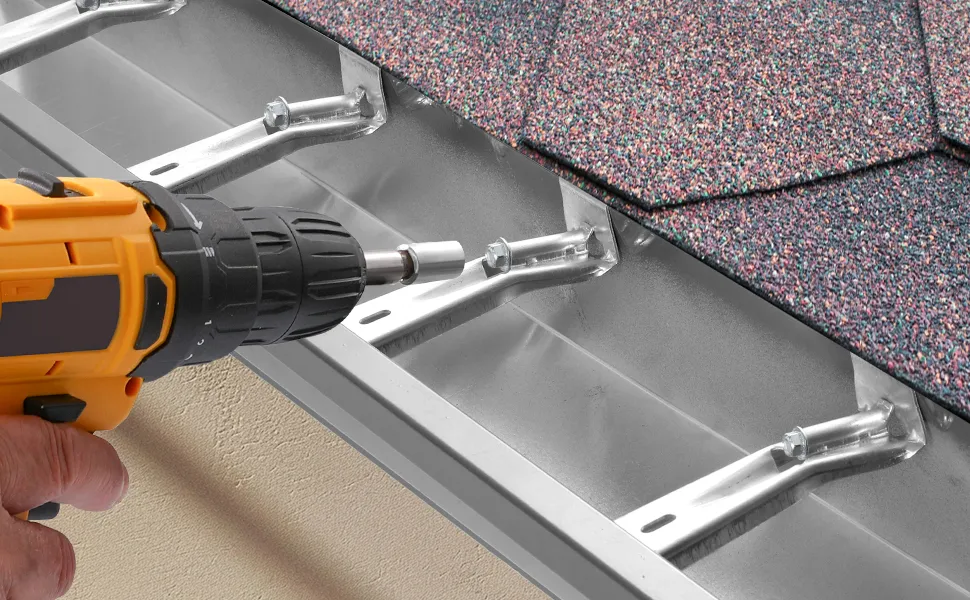
How to properly install gutter hangers and brackets?
- Correct installation of hangers and brackets is essential to support the entire gutter system, secure the gutter channel to the fascia board, and maintain the designed slope.
- The installation process starts with marking the slope line on the fascia using a chalk line to guide hanger positioning.
- The first hanger is installed near the highest point of the gutter run, with additional hangers placed along the line toward the downspout outlet.
- Hanger spacing is critical, typically 24–36 inches apart; closer spacing is used in areas with heavy rain or snow to increase structural strength and prevent sagging.
- Hangers and brackets must be secured with corrosion-resistant screws firmly attached to the fascia board to avoid loosening from water weight or temperature changes.
- Commercial installations often use reinforced hangers to handle higher water volumes.
- Accurate hanger installation ensures stability and proper slope alignment, reducing the risk of overflow, leaks, and long-term damage.
How to connect and seal metal gutter sections?
| Step | Key Details |
|---|---|
| Importance of Proper Joining | Critical step in gutter installation. Ensures smooth water flow and prevents seam leakage for full roofline coverage. |
| Cutting Gutter Sections | Metal gutters are cut to roofline length using metal snips or specialized tools. Clean, smooth edges enable tight fitting and reduce gaps. |
| Connecting Sections | Sections are joined with connectors, slip joints, or riveted overlaps based on system design. |
| Sealing Joints | Waterproof gutter sealant is applied along seams and joints to prevent leaks. |
| Role of Effective Sealing | Prevents water leakage, avoids long-term damage, and reduces future repair needs. |
| Professional Installation | Industrial-grade sealants and rivets are used for stronger connections and improved durability. |
| Final Outcome | Properly joined and sealed gutters form a continuous drainage channel that handles heavy rainfall and protects the building. |

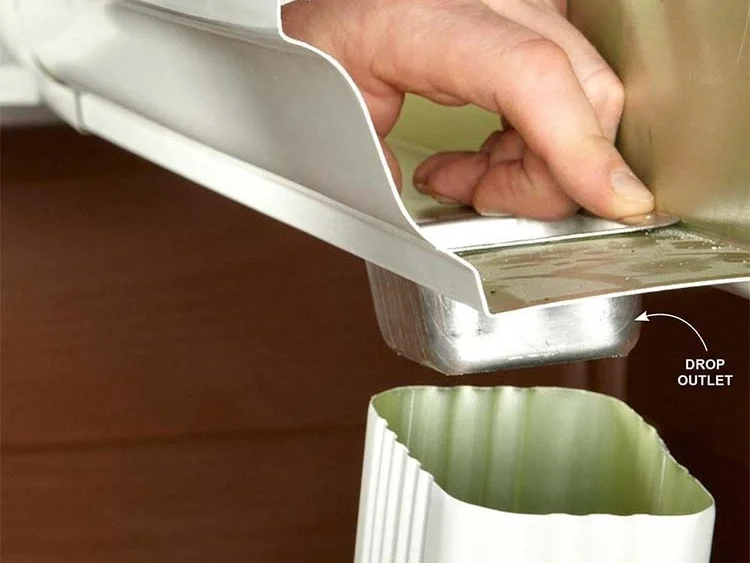
How to install downspouts and direct water flow?
After the gutter channel is secured, the next stage of metal gutter installation is attaching downspouts to direct water away from the structure. Effective metal downspout installation ensures that collected rainwater is transported safely to the ground or designated drainage system.The process begins by cutting a downspout outlet opening in the gutter at the lowest slope point. This outlet connects the gutter channel to the vertical downspout pipe. Once installed, the outlet is sealed to prevent leaks.
Downspout pipes are then attached to the outlet and secured along the building wall using brackets or straps. These supports keep the downspout stable and aligned during heavy rain. Typically, brackets are installed every few feet to prevent movement caused by wind or water flow.Proper direction of water discharge is also essential. Downspouts should extend several inches away from the foundation using elbows or extensions. This prevents water accumulation near the building base, which could lead to foundation erosion or basement moisture problems.
In large buildings, commercial gutter installation may involve multiple downspouts to manage higher water volumes. Planning the number and placement of downspouts ensures efficient drainage and reduces the risk of overflow during storms.Correct metal downspout installation completes the main drainage path, allowing the gutter system to perform effectively.
How to test and maintain your new gutter system?
- After installation, system testing verifies that all components work properly. A water flow test is widely used for metal gutters to check correct slope, joint sealing, and downspout drainage.
- To conduct the test, water is poured into the highest gutter section to observe flow toward the downspout. Poor flow or pooling may require adjustments to hangers or slope, which can be verified using a gutter slope calculator.
- Testing also detects leaks at joints; any leakage requires additional sealant to ensure effective sealing.
- Routine maintenance maintains long‑term system efficiency by removing leaves, debris, and dirt that block water flow, preventing overflow and debris‑related leaks.
- Regular inspection of brackets, hangers, and joints is essential. Tightening loose screws and resealing joints ensures stable performance.
- Both DIY and professional gutter installations benefit from regular maintenance, which extends service life and protects buildings from water damage.
- Proper metal gutter installation relies on accurate measurements, secure hangers, sealed joints, effective downspouts, and systematic testing to ensure reliable drainage and durable building protection.

Ruichi Hardware is an one-stop hardware supplier with 20 years of factory production experience and 10 years of online service experience in Alibaba.We have registered our own trademarks in China, USA, Australia and other major market countries, achieving global brand sales and services.We are specialized in the production and sales of aluminum gutter products including gutter, end-cap, gutter hanger, downspout and related accessories.
Our company offer a one-stop OEM/ODM service of product design, mold making, material sorting, flow line production, packaging, quality inspection, transportation to door.We have a good management system and have obtained ISO quality system certification.Our products are of superior quality, with reasonable price, and backed by strict quality control and perfect after-sales service.This has earned us the trust and cooperation of many clients.
For further questions, please contact sale@rc-hardware.com.